User roles allow you to restrict what users can view, edit, create and delete. The process is pretty simple but will give you a lot of flexibility and control over user access.
Create a User Role
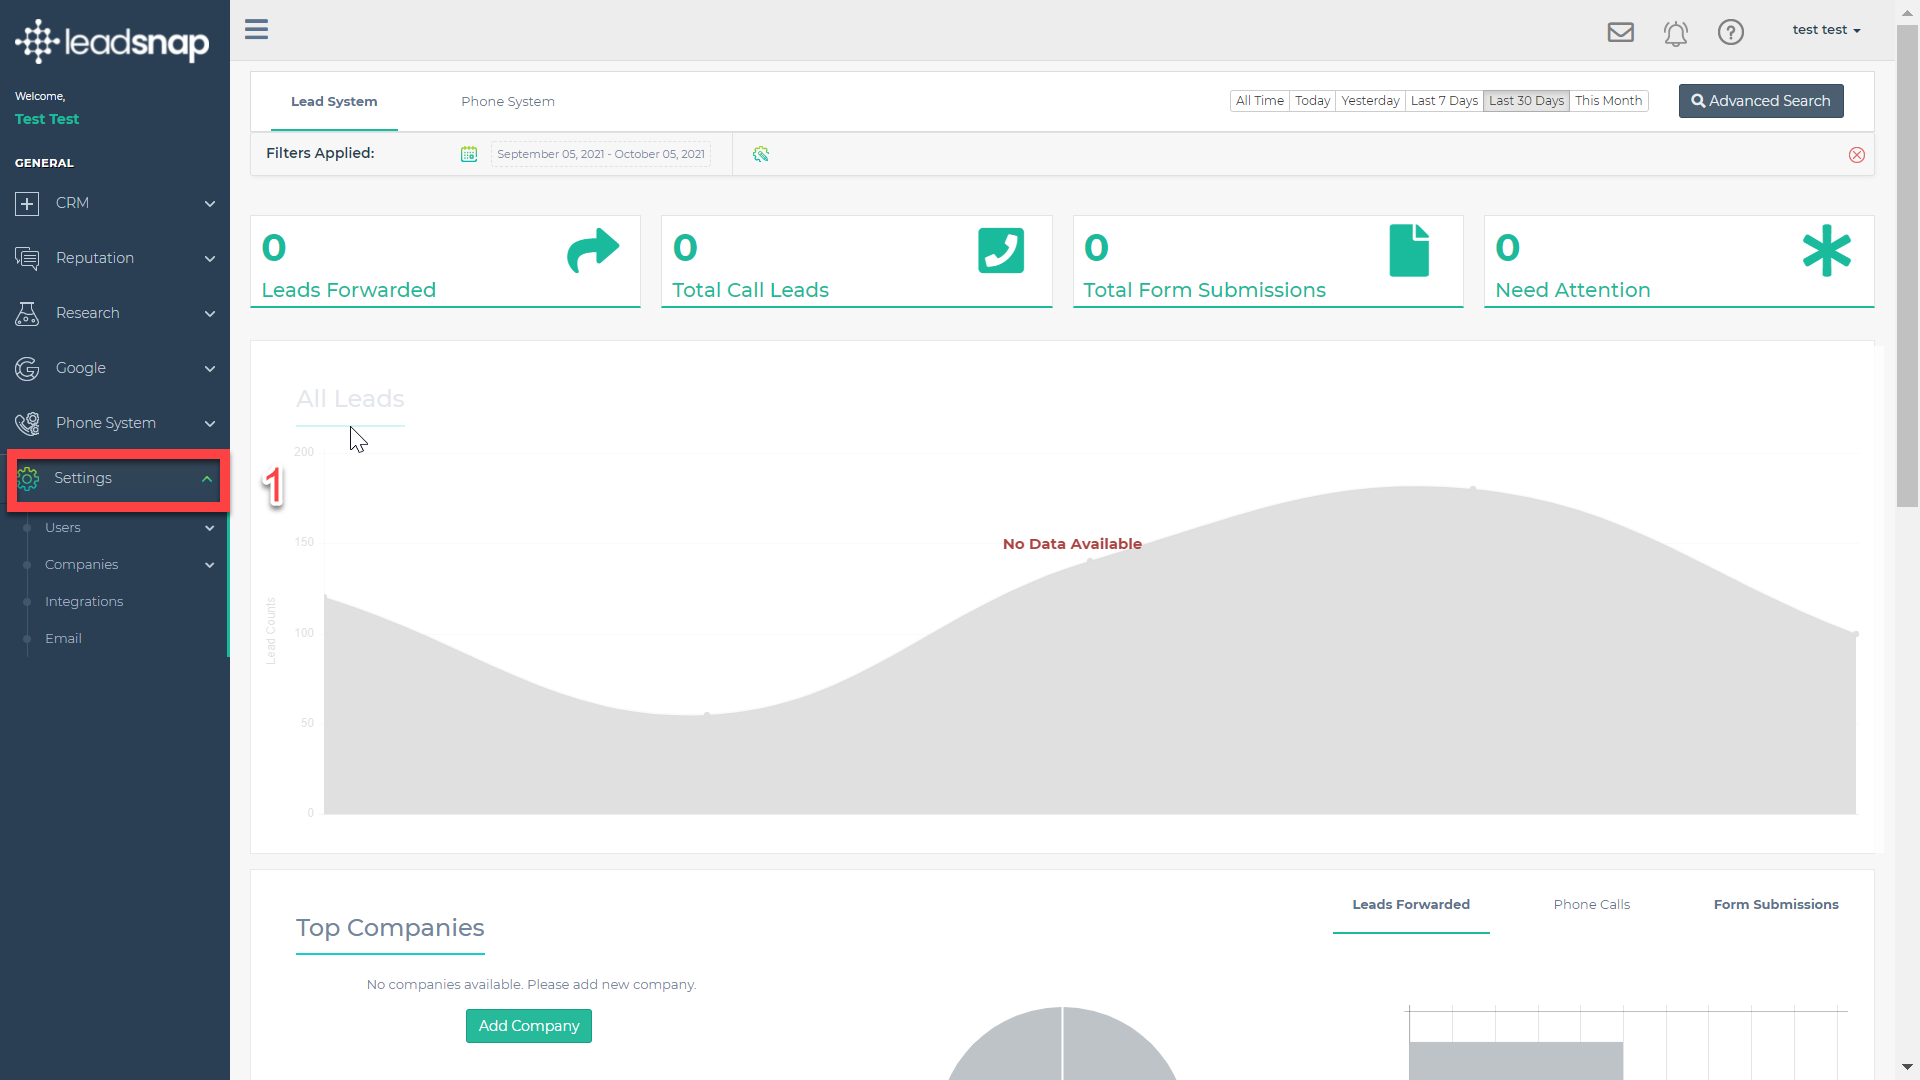
1. Expand Settings from the left navigation.
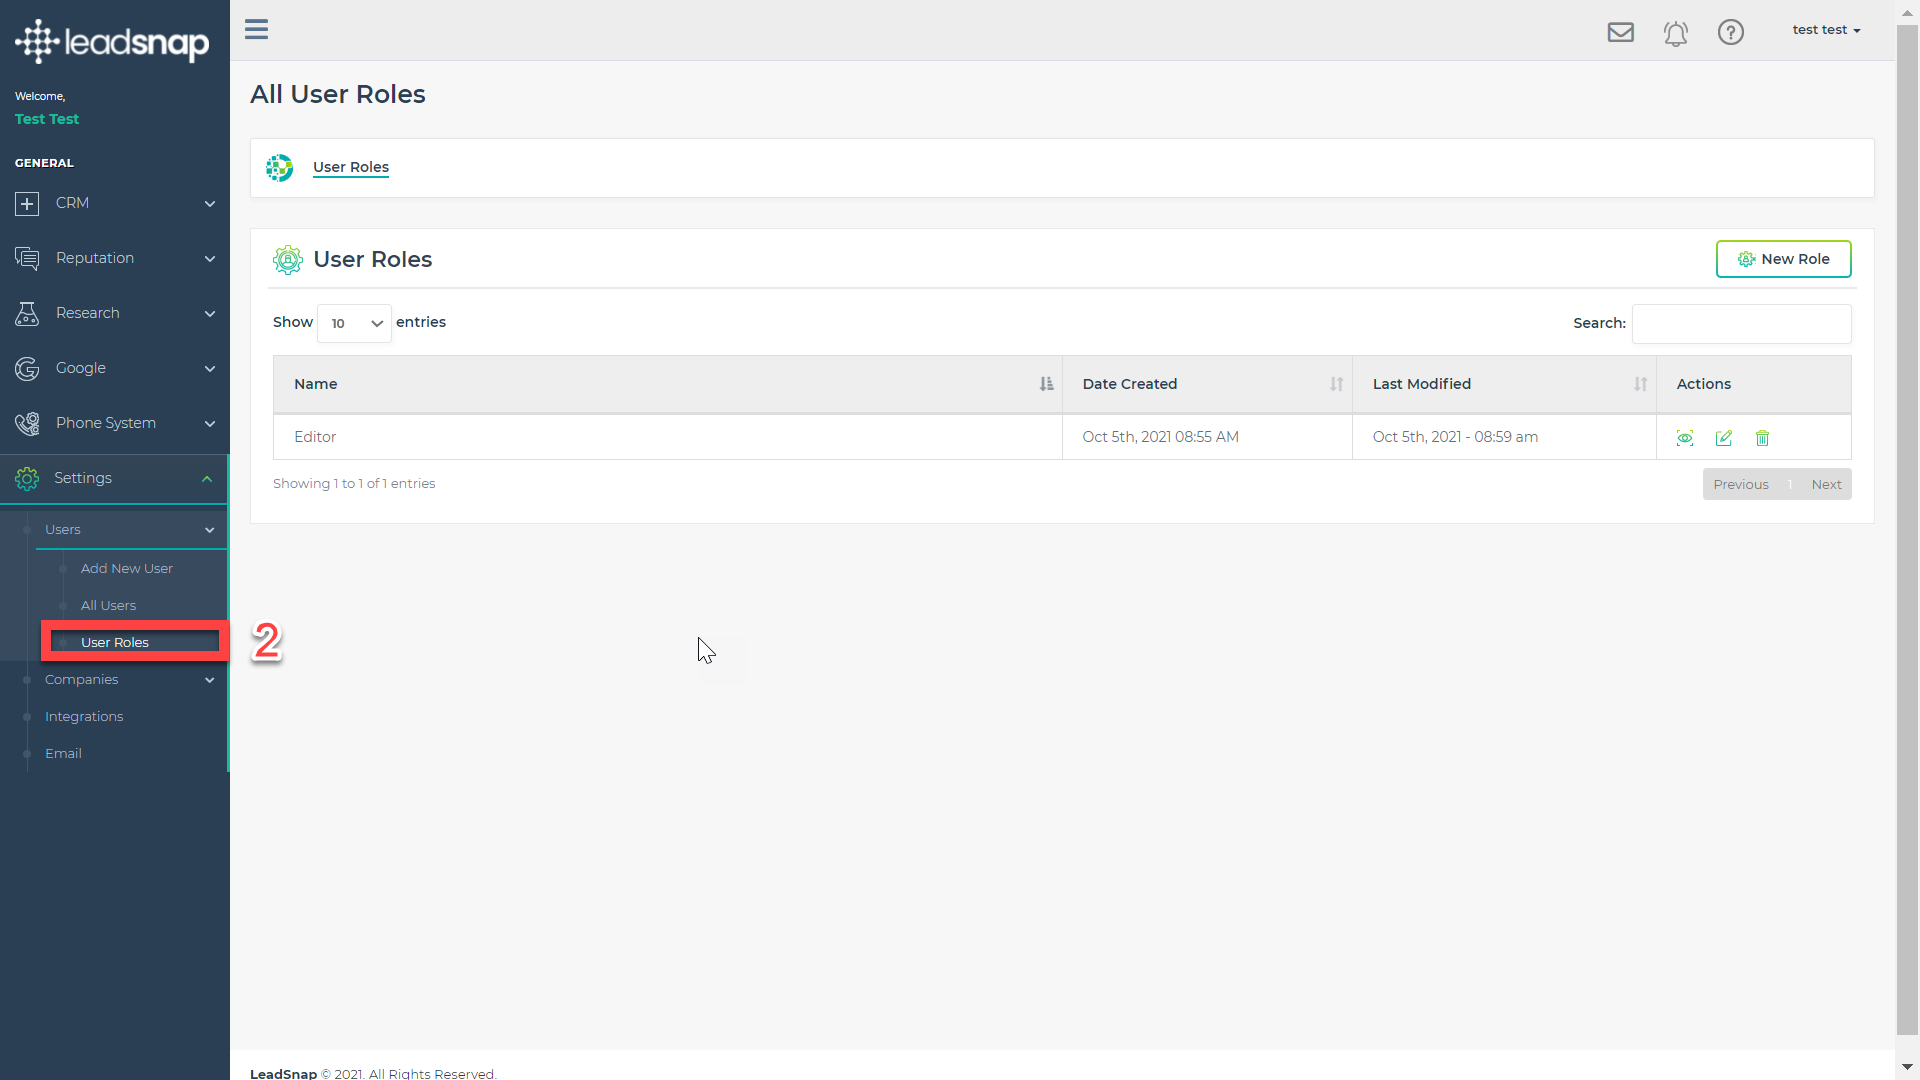
2. Expand the Users Menu.
3. Select User Roles.
4. In the top right corner click the new role button.
5. Name the user role.
6. Edit user role by clicking the eyeball icon next to your newly created user role.
7. Select the permissions that you would like the new user role to have.
A. Notes:
- Notice the list of permissions line up with the left navigation items. Once you enable a section like CRM you will see the associated permissions within the CRM permission area.Â
- Some permissions like for leads work on a user and a company level. So for instance any permissions you give to a user will only be available for the companies they have access to.Â
- As you select permissions they are saved in real time so there is no need to save things before you leave.Â
- if you attempt to change the user role that is currently assigned to users you will receive a popup notification alerting you to the users that whose permissions will change by this action.Â
Assign a User Role
There are two ways you can assign a user role to a user. You can make the assignment at the time the user is created or you can edit an existing user.
Change User Role Name
1. Expand Settings from the left navigation.
2. Expand the Users Menu.
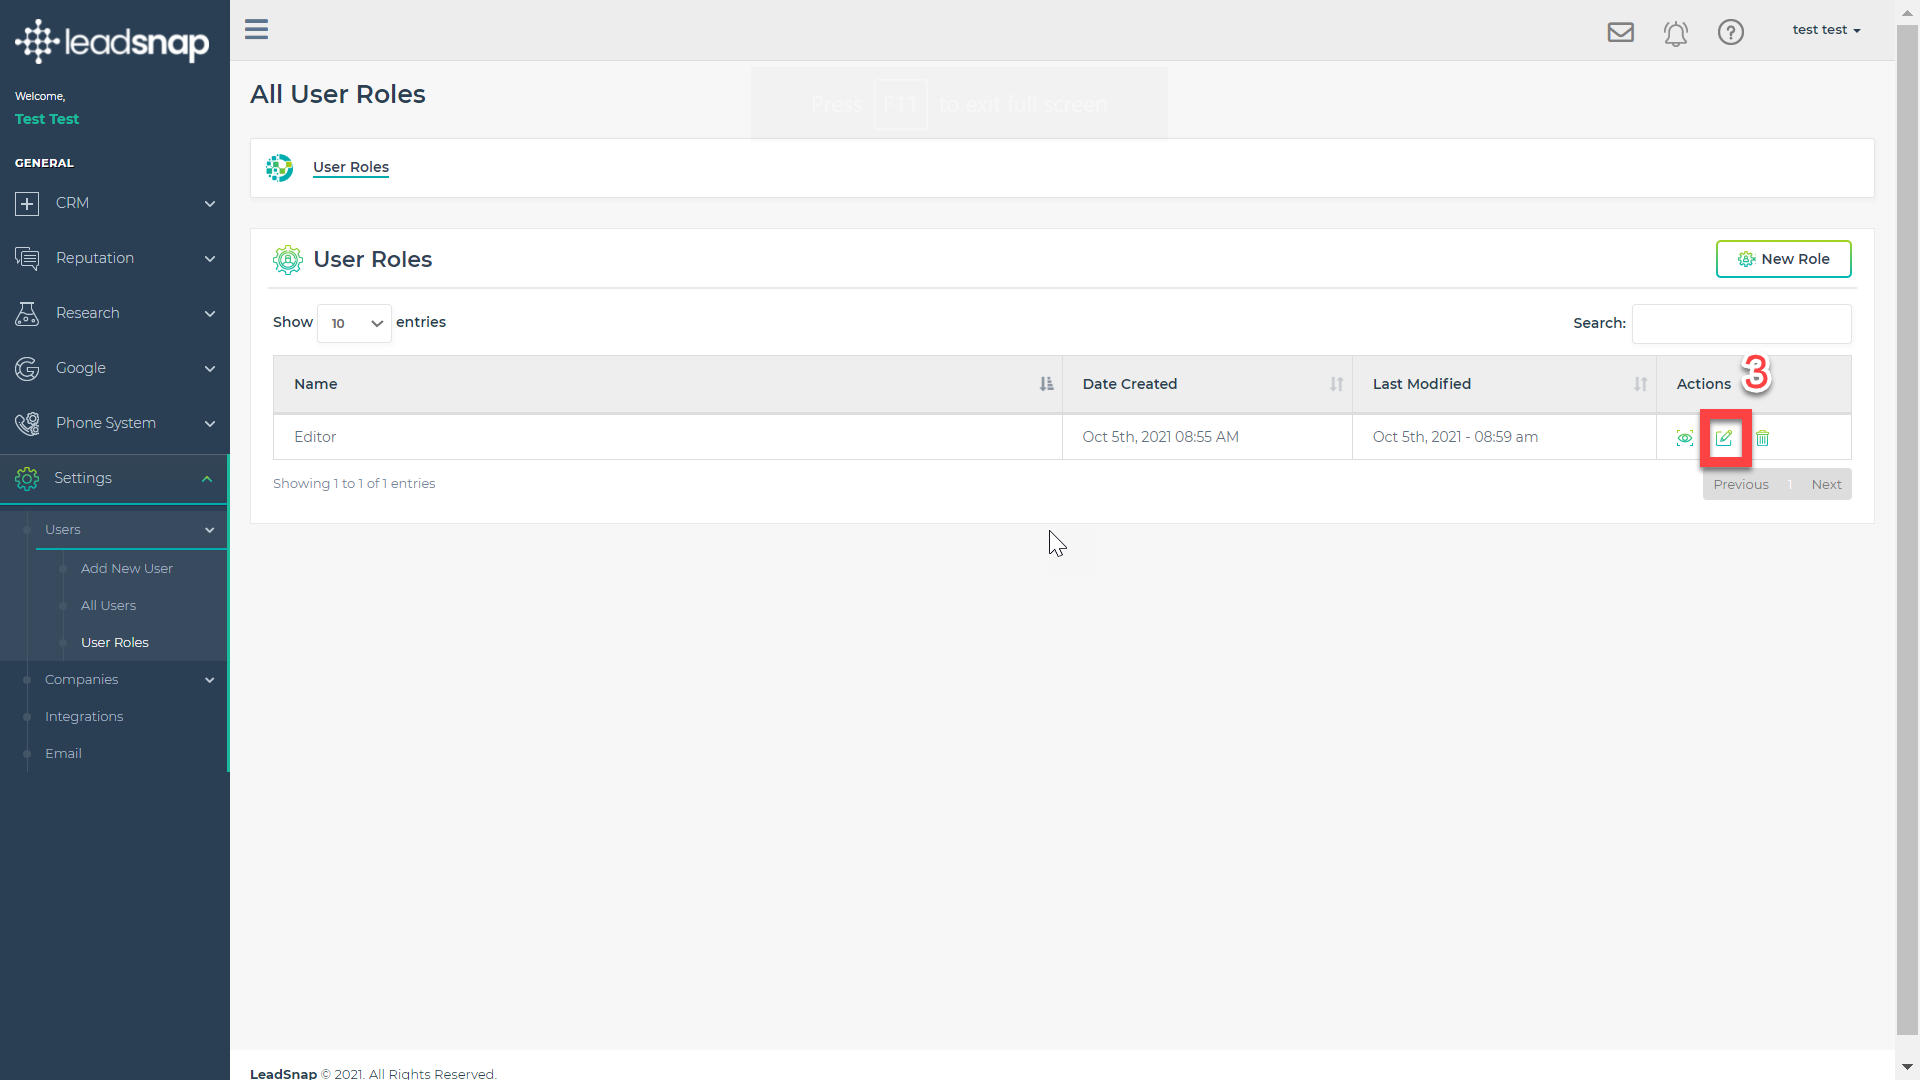
3. Click the pencil icon.
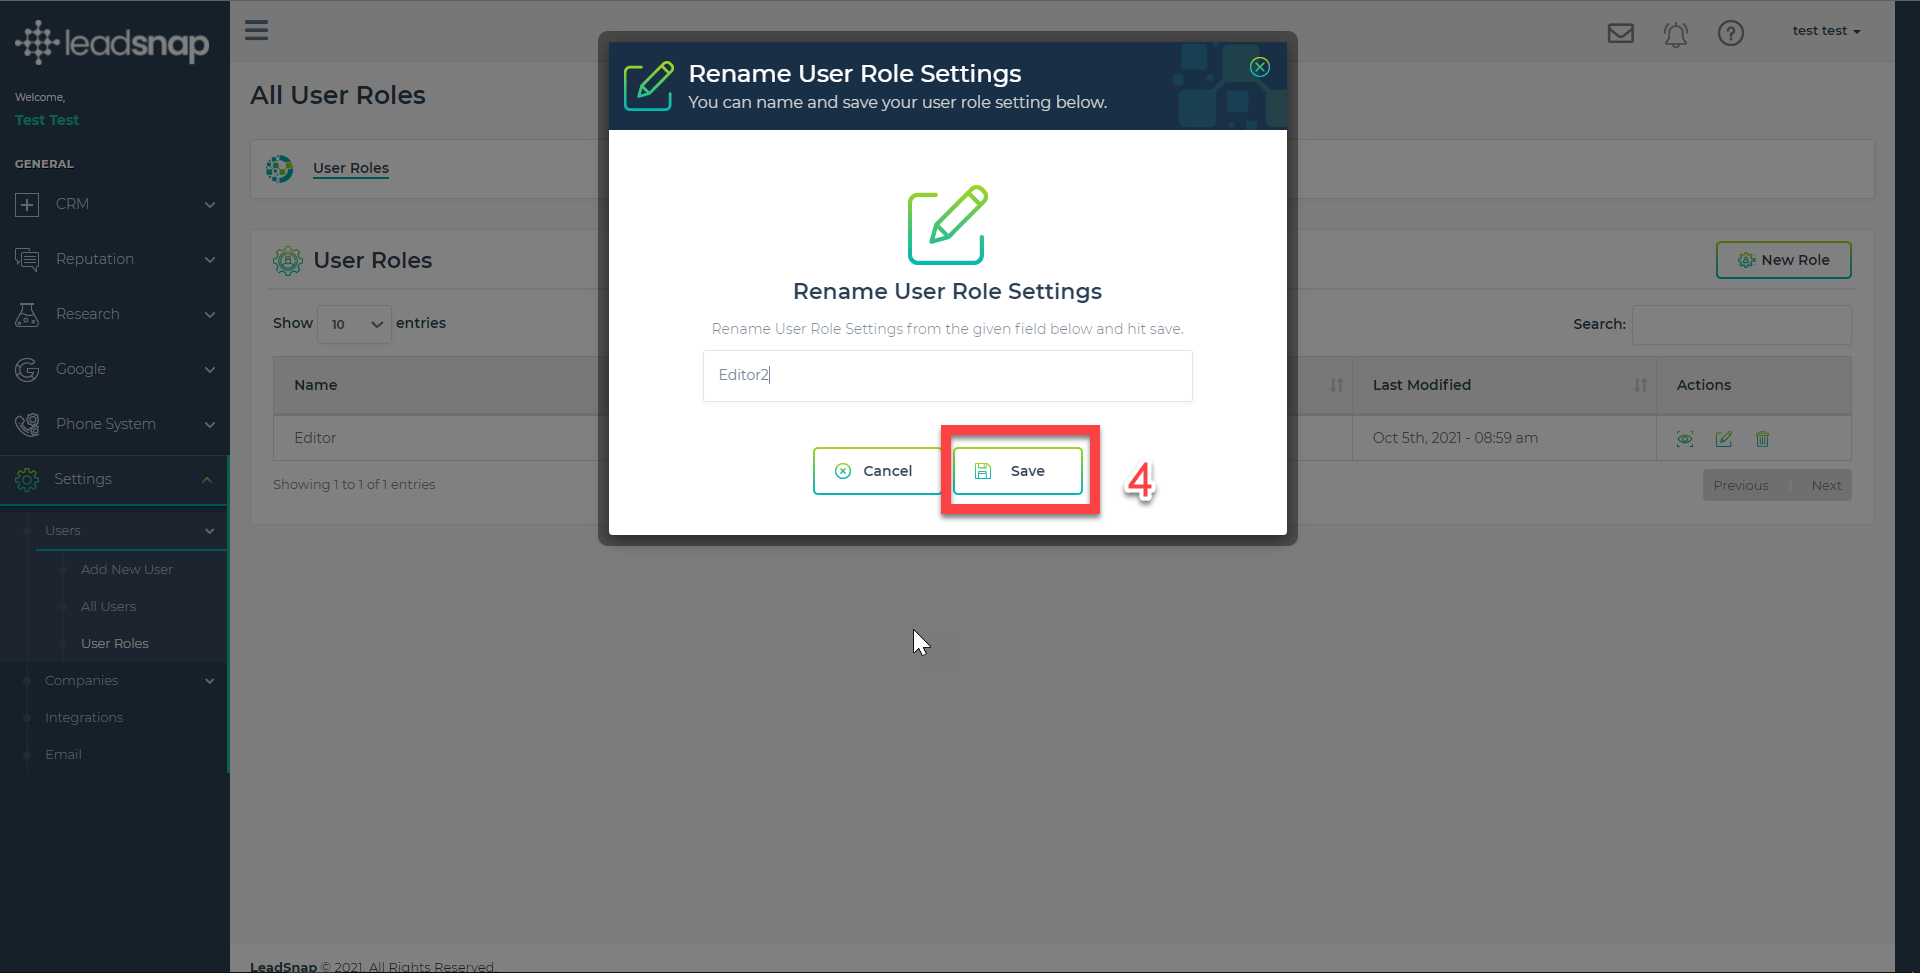
4. Update the name to your new name.
Delete User Role
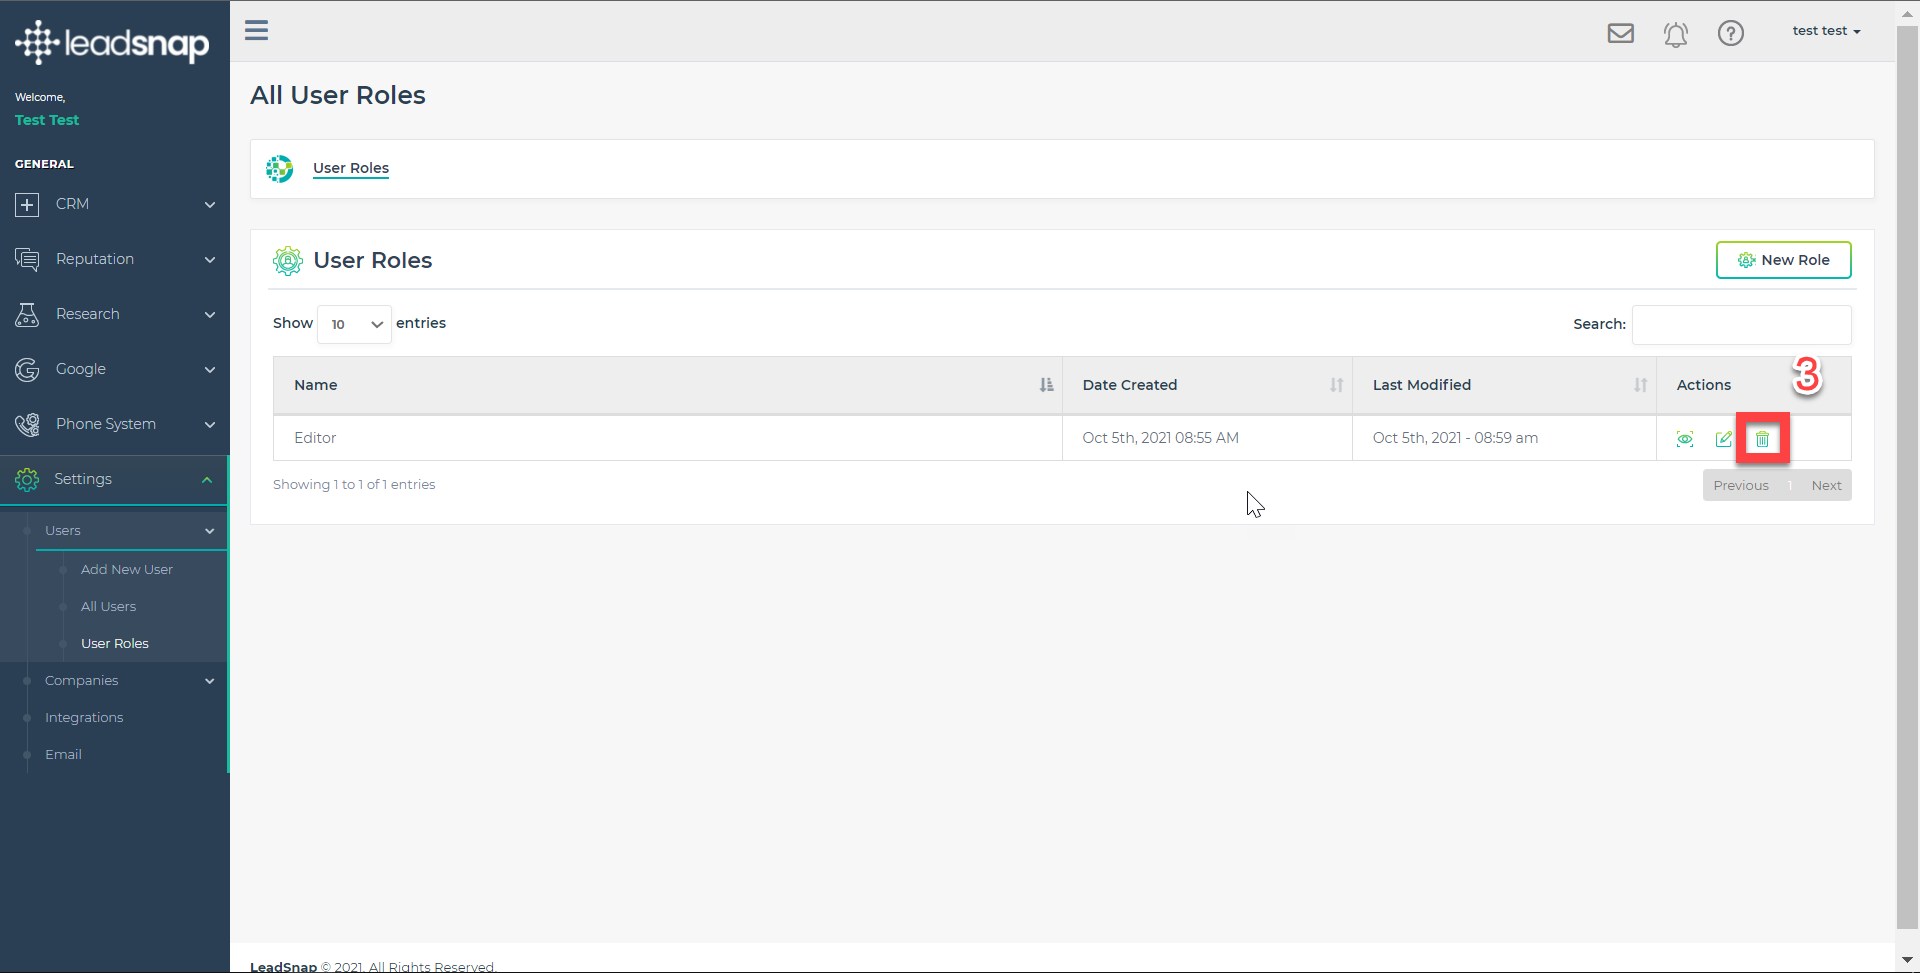
1. Expand Settings from the left navigation.
2. Expand the Users Menu.
3. Click the bin icon.
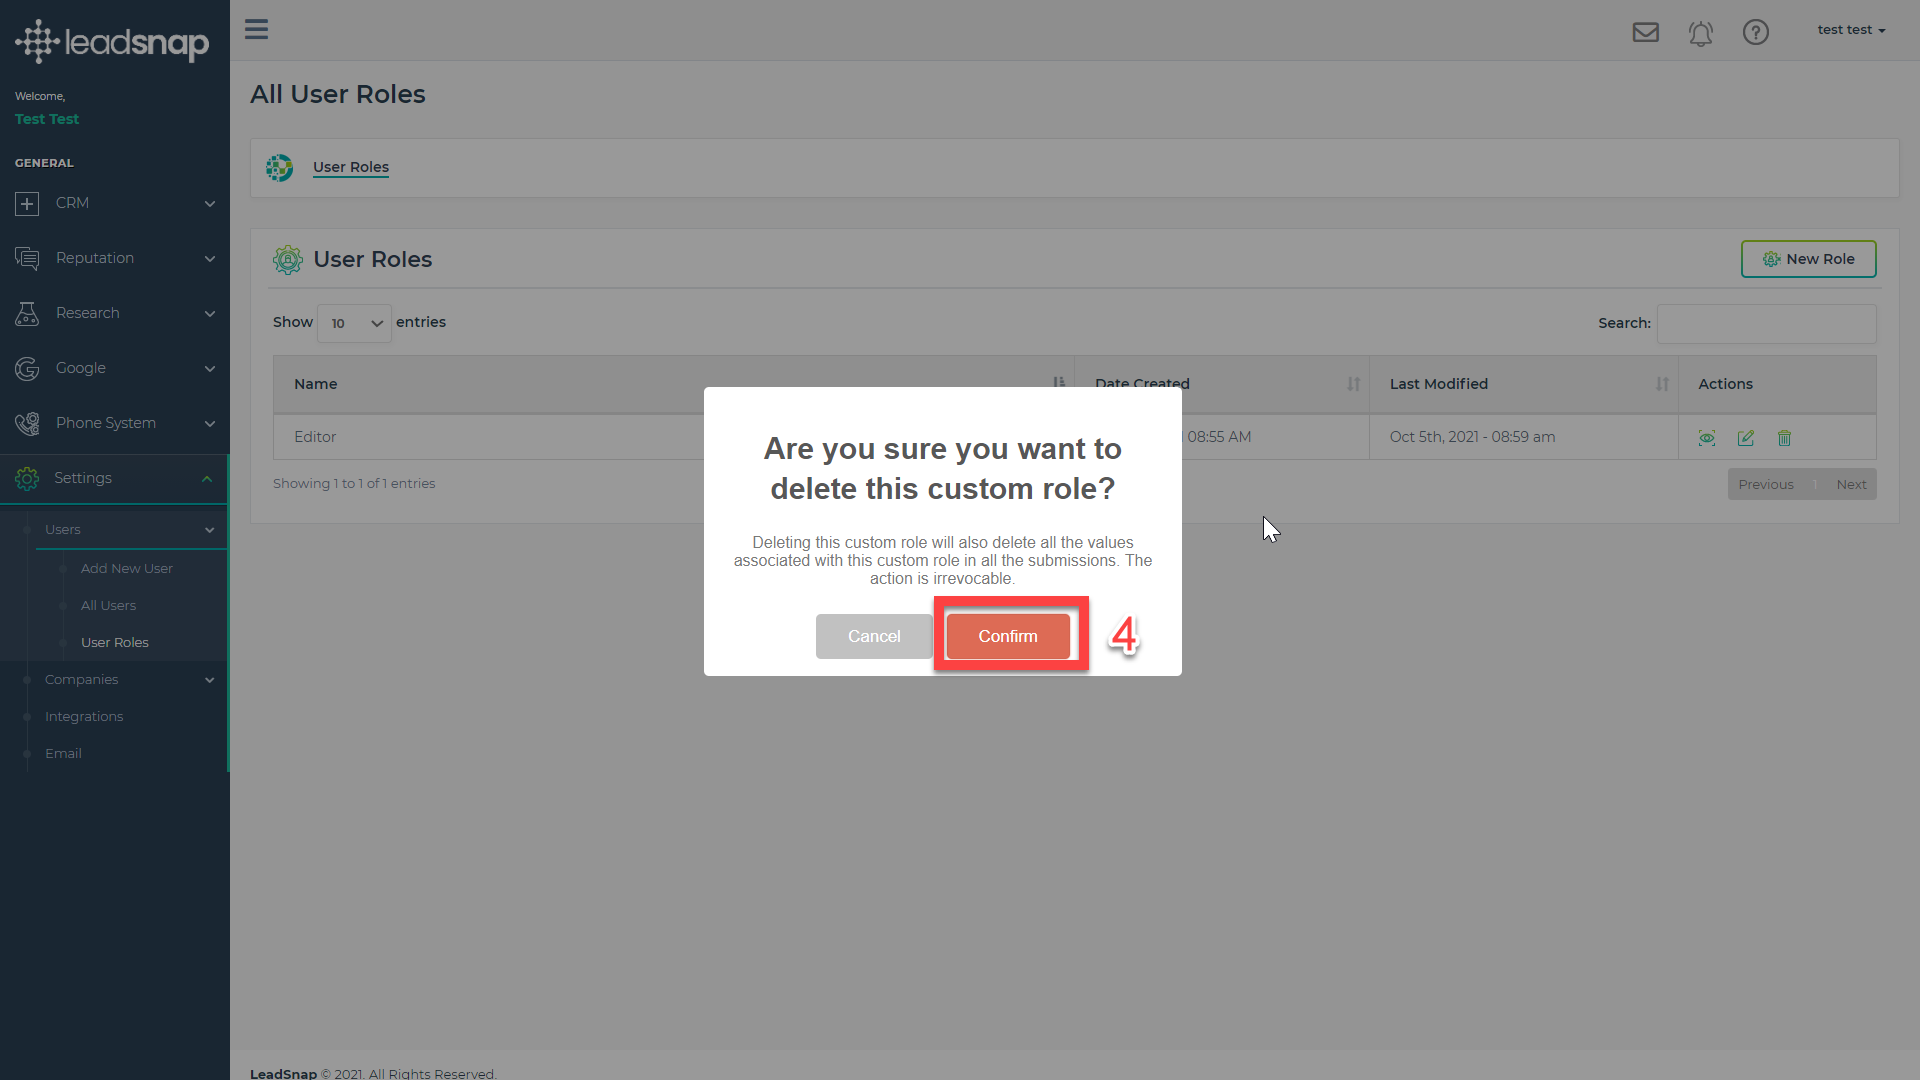
4. Confirm deletion of User Role.


