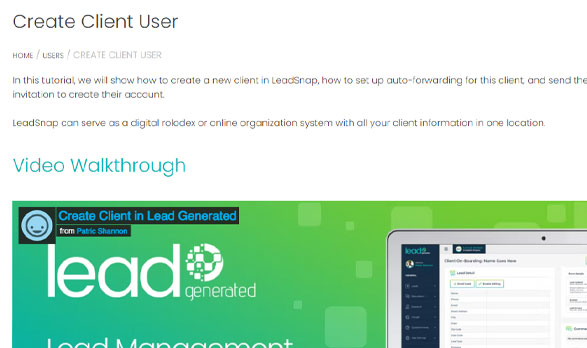
In this tutorial, we will show how to create a new client in LeadSnap, how to set up auto-forwarding for this client, and send them an invitation to create their account.
LeadSnap can serve as a digital rolodex or online organization system with all your client information in one location.
Step-by-Step Guide
1 . Click on Settings > Users > Add New User.
2. Fill out the information about your client in the Add New User screen.
Type in the first and last name of your client and name of their company in the appropriate fields.
In the next field we will enter their email address. This is what will be used to send the leads to your client by default but you can override this email address from the Edit Company page later if necessary.
Enter their phone number and street address. Note that the address field will give you options to auto-fill once you start typing it. If you don’t get a match, it could be caused by a new construction not yet being added by google maps or there may be a spelling error somewhere along the address line.
3. The companies list button allows you to assign this client to a company. So as leads come into your company they can forwarded to their associated clients. Click the Companies List button to see a list of available companies you have already entered in the system. Select the company you would like to have this client assigned to. If you have a lot of companies, you can also use the search bar to locate the desired one more quickly.
4. Select the client user role.
Currently, we have 3 different user roles: clients, managers, and admins. You can create as many users of each role as you would like. As the account owner, your account was set up as an admin by default.
Admins can see every piece of your account for all companies and all modules.
Managers can see all the modules but only for their assigned companies. Some modules like the Heat Map and Due diligence don’t have a company relationship so in these cases the managers can you see the full functionality of the module.
Just like managers, clients can only see things related to their assigned companies. However unlike managers, clients only have access to three modules: the lead management, reputation management and GMB management.
5. For the password fields, you can create a password for your client or you can leave these both blank. If you leave the password and confirm password fields blank it will be auto-generated for the user by default. They can always change it when they login.
6. Notice this little checkbox down at the bottom. It determines whether the user you create gets an email invitation to set up their LeadSnap account.
If you do not want this client to have access to LeadSnap, just leave this box blank. You can always send an invitation later.
If this is your first client, we recommend leaving this checkbox blank. You can create a test client, and log in so you can see things from their perspective.
If your browser is auto-populating an email address or password, please make sure to remove those and enter the correct values.
Once you have all the fields complete you can click Submit to create your client.
We have now created a client and assigned it to a company.
7. As new leads arrive for the company that’s associated with this client they will automatically be assigned to this client. Whether they are sent immediately or need to be sent manually will depend on your auto-forwarding settings.
To adjust the auto-forwarding settings click on Users > All Users, then click on the View button for the desired client.
8. Click on the Edit User button on the top right.
9. Select the Lead Delivery Settings tab, then toggle the Auto-forward option on or off, according to your preferences. Note that if this is set to off, leads will not be sent to your client until you manually do it from the All Leads page.
10. You can also update these settings from the Edit Company screen.
11. If you ever need to send an invitation to an existing user, such as a client you can do that from the all user page.
Just click on Settings> Users> All Users. Find the user you would like to send the invitation and click the resend invitation button.
Check out the videos in our help section for additional information.