Here are the google support resources as mentioned in the video:
Steps to setup your Google Workspace: https://support.google.com/a/answer/9212585
How to Sign into Google Admin Console:
https://support.google.com/a/answer/182076
Here are the google support resources as mentioned in the video:
Steps to setup your Google Workspace: https://support.google.com/a/answer/9212585
How to Sign into Google Admin Console:
https://support.google.com/a/answer/182076
If you have added some keywords to your spam filters, but still notice you are getting forms that contain those keywords, the most likely cause is that you dont have the “check field for spam” button selected.
This button is found in the website forms, you will find once you click edit on the message field.
Please see the video below for a walkthrough on how to find and enable this button.
The import contacts feature allows you to import thousands of contacts into our system with a few button clicks. This is great if you have a customer list for reputation management or if you are migrating from a different CRM.
If successful you should see your new contacts within the contact list.
Check out the video below for a step by step walkthrough on how to import contacts to LeadSnap
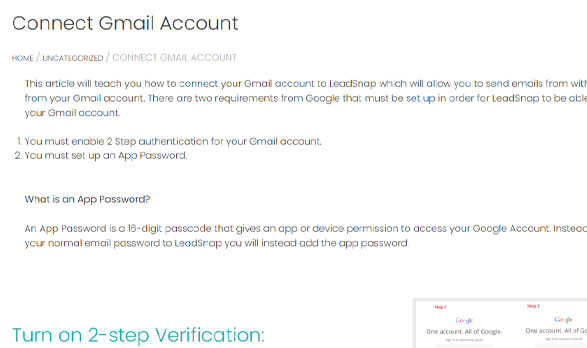
This article will teach you how to connect your Gmail account to LeadSnap which will allow you to send emails from within LeadSnap from your Gmail account. There are two requirements from Google that must be set up in order for LeadSnap to be able send from your Gmail account.
What is an App Password?
An App Password is a 16-digit passcode that gives an app or device permission to access your Google Account. Instead of adding your normal email password to LeadSnap you will instead add the app password.
Google Article On 2 Step Verification
1. Login to your Google Account.Â

2. In the navigation panel, select security or click this here to open it directly.

3. Under “Signing in to Google,†select 2-Step Verification  Get started.


Select Security.
Under “Signing in to Google,” select App Passwords. You may need to sign in. If you don’t have this option, it might be because:

At the bottom, choose Select app and choose the app you using > Select device and choose the device you’re using > Generate.

Follow the instructions to enter the App Password. The App Password is the 16-character code in the yellow bar on your device.

Tap Done

The Google Analytics Integration to LeadSnap was designed so that you are able to view all of your analytics data in one place directly associated with the company’s in the system. The reports produced by Google Analytics data contain valuable information and insight into user behavior so you can address business marketing concerns
You are able to see real-time data such as how many visitors are on your site and whether they are browsing from a computer or mobile device, traffic sources, site speed, and page indexing all in a single convenient dashboard. Connect any number of Google Analytics Accounts to LeadSnap for added flexibility.
1. Expand the “Google†item from the left side navigation.

2. Expand the “Google Analytics†item from the left side navigation.

3. Select “Accountsâ€

4. Click the add account button on the main screen

5. Select Confirm on the “Are you sure you want to continue†Screen

6. Sign-into the google account that is connected to analytics.

7. After sign in select continue on “Leadsnap wants access to your google Accountâ€

8. To add more accounts repeat steps 1-7.
1. Return to the google item on the left side navigation

2. Expand the “Google Analytics†item for the left side navigation

3. Select accounts

4. Locate your account on the main screen
5. Navigate to actions right of the account name and select edit mapping.

1. Determine what website(s) from google analytics you would like to import metrics for
2. In the “Enable†Column check the box for the website(s) you want to port metrics for
3. In the “LeadSnap Company†column select one of your companies from the drop down that you want to have this website associated with.
4. In the “Actions†column select assign to complete mapping.

1. Expand the “Google†item from the left side navigation
2. Expand Google Analytics
3. Select Dashboard.

1. Navigate to “Select Company†in the upper right hand corner of the dashboard screen
2. Select from the drop down the company you want to see analytics results for.

1. Expand the “Google†item from the left side navigation.
2. Expand the “Google Analytics†item from the left side navigation.
3. Select “Accountsâ€
4. Locate the Google Account you would like to remove
5. Navigate to the “Actions†Column for the google account and select “Disconnectâ€

6. Select “Confirm†from the “are you sure you want to disconnect from this account†prompt.

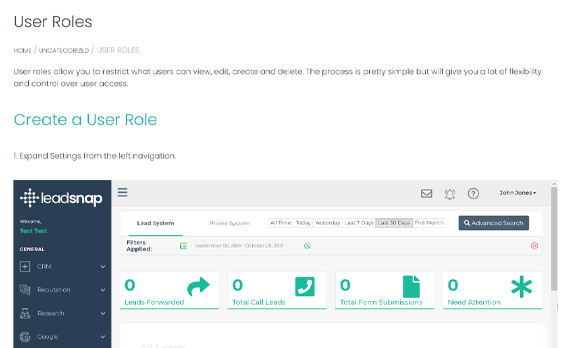
User roles allow you to restrict what users can view, edit, create and delete. The process is pretty simple but will give you a lot of flexibility and control over user access.
1. Expand Settings from the left navigation.

2. Expand the Users Menu.

3. Select User Roles.

4. In the top right corner click the new role button.

5. Name the user role.

6. Edit user role by clicking the eyeball icon next to your newly created user role.

7. Select the permissions that you would like the new user role to have.

A. Notes:
There are two ways you can assign a user role to a user. You can make the assignment at the time the user is created or you can edit an existing user.
1. Expand Settings from the left navigation.

2. Expand the Users Menu.

3. Click the pencil icon.

4. Update the name to your new name.

1. Expand Settings from the left navigation.
2. Expand the Users Menu.
3. Click the bin icon.

4. Confirm deletion of User Role.

This guide will help you connect your Gmail or G Suite email accounts to LeadSnap within our SMTP settings area. Depending on the specific account settings within your Gmail or G Suite account one or both of these steps may be necessary. To learn more about SMTP settings please read the associated support guide.
Here is an article from Gmail that explains more about the process.
While logged into your account this link should take you to the area to adjust the settings.
As an extra level of security Google has a feature that you can use with its products (such as Gmail) called app passwords or app-specific passwords. The way this works is you can create a unique password for each application (in this case LeadSnap), this will not affect the main password for your account. You then use this password just like you would your normal password within the chosen application. In a sense, it is like an alternative password that will only apply to one application.
For more information about how to set this up please check out this support article from Gmail: App Passwords.
Did you accidentally archive an user or want to restart business with an old client you had archived? Fear not! You can restore users following these simple steps.
Need more details or just want to see how it’s done? Watch the video below.
The spam filters help you manage the form submissions that are sent to your various lead generation properties. They are turned on by default so it is important to check your spam area to make sure no real leads are accidentally being categorized as spam. To access the filtered leads or spam filters expand the leads item from the left navigation and choose spam. To edit the spam filters choose the edit spam filters button from the top right corner.
Watch this video for a more in-depth overview of spam filters.
1. Log in to your LeadSnap account. Click on “CRM” on the left menu, then “Leads”, then “Spam”.

2. Click on “Edit Spam Filters”.

3. Check “Enable Filters”
Filters are enabled by default, but you can disable/enable the filters with the toggle button.
You can also filter leads by marking as spam the leads that contain a URL in the form submission’s message field.

4. Phone Number Filtering
Many spammers include a “+†or a “0†at the start of the number. This violates the rules of valid phone numbers in many countries.

5. Keyword Spotting
The Keyword Spotting filter will mark a message as spam if it matches one of the defined spam keywords.
You can define certain keywords that the system will look for in upcoming messages.

6. Domain Filtering
Domain Filtering checks the email field of a message. If the domain name (or part of the email after “@â€) matches one of your defined domains, the message will be marked as spam.
Note: Do NOT include “http, https†or “www.†in the domains, only the domain name and the domain extension (“.com, .net/, etc.â€). Valid examples are shown below:

7. Email Address Filtering
Email Address Filtering checks for the email field of a message. If the email matches one of your defined email addresses, the message will be marked as spam.

8. Filter By Country
The Filter By Country filter checks the IP address of incoming messages and only allows those that originate in unchecked boxes. This is very powerful for local lead generation, as most of the real leads will come from the same country where they would like the service.
Note: This filter currently only works with WordPress and Embed Forms.


9. Click on “Update”
Click on Update to save the filters.

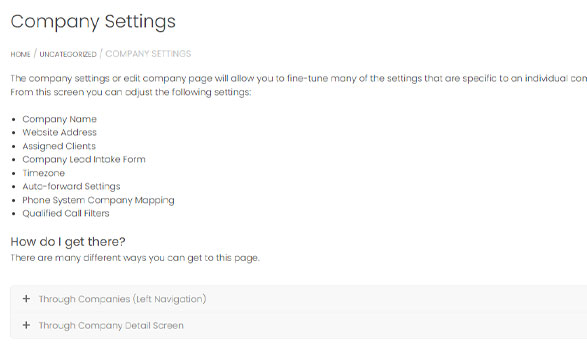
The company settings or edit company page will allow you to fine-tune many of the settings that are specific to an individual company. From this screen you can adjust the following settings:
There are many different ways you can get to this page.
If you will notice in almost every place a company is listed through LeadSnap it is a link to the company details screen. From any company details screen, you can access the edit company screen by clicking the “Edit Company” button located in the top right corner of the company dashboard.
This is an example of the Company Setting or Edit Company Page
The company name can be adjusted at any time and it is just used internally to refer to your company. We recommend using a name that will let you know exactly which of your websites it refers to.
This is the website URL of the website associated with your company. This used for reference to help identify the website associated with the company throughout our system.
Every company can have clients assigned to it. You can remove a client by clicking the “X” next to their name or add a new client by clicking in the open space within this field. If you are trying to add a client that you have not created yet, you must create a client and then return to this screen.
As leads arrive in our system whether, through a phone call, form submission, Zapier, or manually created lead the company and client will be assigned at the time a lead arrives. If you add a client after the lead arrives they will not be able to see the leads that arrived before you assigned them to a company. You can always manually assign leads to a client after they are created if you would like them to be associated with the lead.
You have the option to provide your clients with access to LeadSnap when you create their account. These clients will have access to all the leads that are assigned to them. So if you decide to assign multiple clients it is important to understand that they both can see these leads if they log in to our system. If you remove the assignment of lead to a client they will no longer be able to see the lead.
This is the timezone of the location where your website is located. We use this in combination with the timezone setting in your account settings to adjust the time of leads.
This setting controls if leads are automatically sent to a client as they are created in our system. This applies to both form submissions and manually created leads. You can turn the switch on or off on a client level for each company. There are two different lead flows for delivering leads to your client within LeadSnap. You can manually forward leads or you can auto-forward leads. In either case, we recommend setting the lead progress field of the lead to “forwarded” after it has been sent to your client. This helps keep track of the progress of the lead from the time it arrives until the time it is delivered to your client.
This field sets the progress field which is a required field in our system for every lead. We recommend leaving this as forwarded to ensure your system runs correctly.
As phone calls are pulled into LeadSnap from your phone system account they are not added as leads to the “All Leads” page (and other leads pages) by default. Instead, they are held in the “All Calls” area until they are manually added as leads. The qualified calls filter allow you to change that behavior.
For newly created companies the default setting is to have the qualified calls filters turned off. If you prefer to have them all added as leads as they come in then you can enable the qualified calls filter but do not turn on any of the call restriction filters. For greater control, you can use the filters so that only calls that meet certain criteria are added as leads. These filters work in combination with each other, for instance, if you were to set the call duration to 90 seconds and the answer status to answered only calls who had a duration of at least 90 seconds and had a status of answered would be added as leads automatically.