In this article, you will learn how to connect your Weebly website to LeadSnap. This connection will allow the form submissions from your website to show up within LeadSnap. If you are using the Weebly script this should happen instantly.
Why Connect Weebly to LeadSnap?
There are many reasons to connect your websites to LeadSnap. The first and move obvious reason is so that you can track the performance of your websites and have all your leads in one location. Once the leads are in our system you can start taking advantage of all the powerful sorting, searching, and reporting features. In addition to the organization and reporting features the spam filters built into LeadSnap are very powerful and can save you a ton of time. The spam filters learn as you go and can adjust based on the patterns you see in your spam messages.
Beware of Google Ads
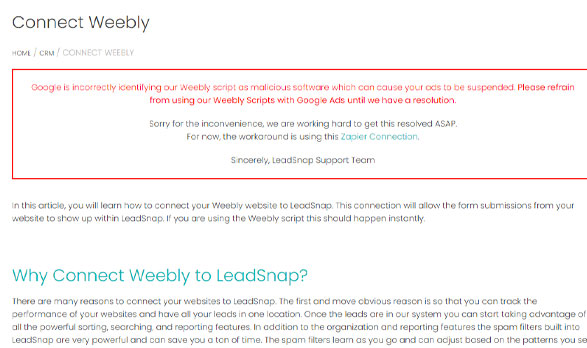
If you are using Google Ads then our Weebly Script can cause some issues. Google Ads incorrectly identifies our script as something potentially harmful to your site because it is sending your form submissions data to a third party, LeadSnap. In many cases, this is not what you want but obviously, in this situation, it is exactly what we want. This is the only product that we are aware of that has an issue with our script. So if you are not running ads through Weebly then this should not cause any problem at all. If you are running ads to a page on your Weebly site we have several workaround options that will allow you to connect to LeadSnap without an issue.
Google Ads Workaround Options
- Zapier
- Form Embed
Step By Step Guide
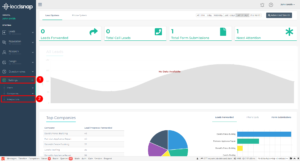
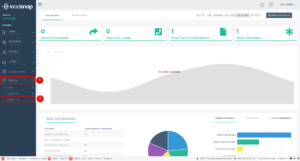
1. Login to LeadSnap. Click on “Settings”, then “Integrations”.
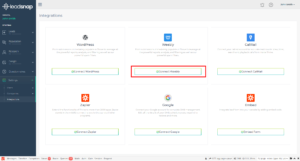
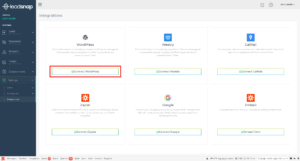
2. In the Weebly box, click on the “Connect Weebly Site” button.
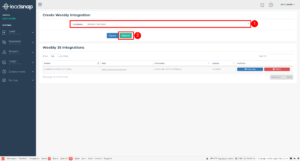
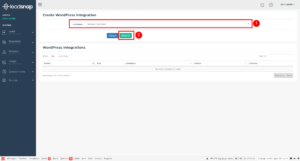
3. Select the company that you would like to connect from the company select box and click submit to create the Weebly script.
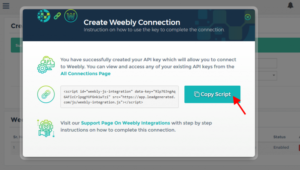
4. Copy the script generated for you by clicking the copy button.
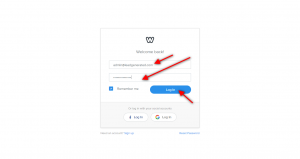
5. Login to your Weebly account.
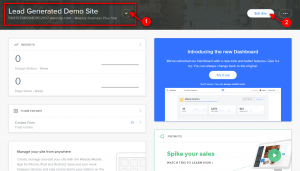
6. On the top right menu, select the website you’d like to connect to LeadSnap, then click on “Edit Site”.
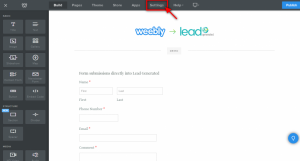
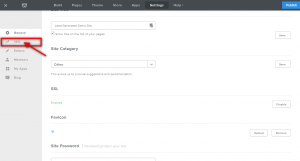
7. On the top menu, click on “Settings”.
8. On the left menu, click on “SEO”.
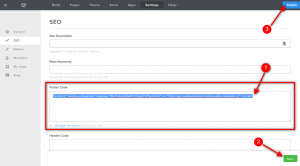
9. Paste the script copied from LeadSnap into the “Footer” area of your website. We recommend making the LeadSnap Weebly script the first piece of code within the footer code area. So if you have an existing one add our code above the existing one. Next, click the save button in the lower right corner and then the publish button in the top right corner.
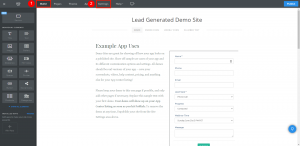
10. As a final step, it is a good idea to click on the build menu option and then click back to Settings and SEO to ensure the Weebly code was saved properly. If you do not see the Weebly script in the footer code area then it was not saved properly and it will not work until it is saved correctly in this area. If you see the script is not showing in the footer area of the SEO settings after returning from the build area paste the code in again and make sure to click both Save and Publish as shown in steps 8 and 9.
Next Steps
Now that you have successfully connected your WordPress Site. Here are a couple of next steps you should do to make sure things are set up correctly.

