Support Navigation

LeadSnap allows for seamless integration to your WordPress websites. Form submissions are instantly available within LeadSnap as they are submitted from your website. Once they are in our system you can take advantage of our powerful reports, search, and sorting filters. In addition, our spam filters are very powerful and will make form submission spam messages a non-issue for you and your agency.

Current Supported Form/Page Builders

  • Beaver Builder
  • Brizy Builder
  • Caldera Form
  • Contact Form 7
  • Divi Page Builder
  • Elementor Page Builder
  • Gravity Forms
  • Gutenberg
  • Ninja Forms
  • SmartForm
  • Thrive Theme Builder
  • TypeForm
  • WP Fluent Forms
  • WP Forms

WordPress Connection Alternatives

Don't see your form or page builder listed? No problem, we have workarounds. We are continually adding more integrations for WordPress so if you would like yours to be added submit it as a feature request through our ticketing system here: Submit a feature request

If you do not have one of these you can still get all of your form submissions into our system without an issue. Below are two workarounds that will work with LeadSnap 100% of the time.

Step by Step Guide

LeadSnap Settings

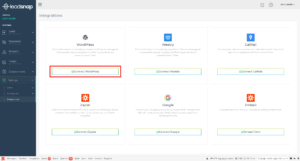
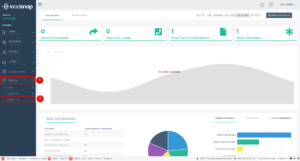
1. Log in to your LeadSnap account. Click on "Settings" on the left menu, then "Integrations".

2. Click on "Connect to WordPress Site".

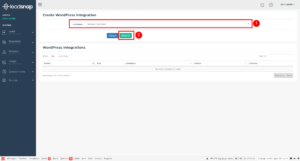
3. Select the company from the select box that you would like to connect with LeadSnap and click the submit button.

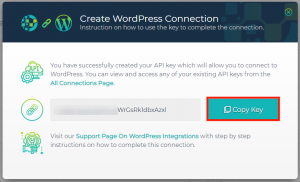
4. Click the copy key button from the popup menu.

WordPress Settings

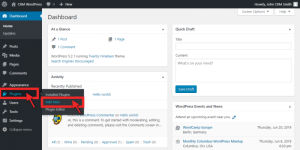
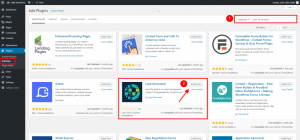
5. Log in to the admin area of your WordPress website. Click on "Add New" under "Plugins" on the dashboard menu.

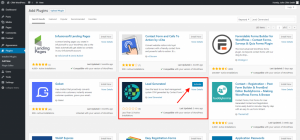
6. Search for and install the LeadSnap Plugin

7. Click on "Activate Plugin".

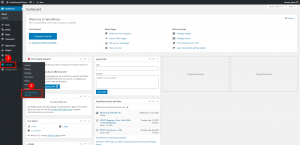
8. Choose settings from the WordPress Dashboard menu and Select the LeadSnap Option.

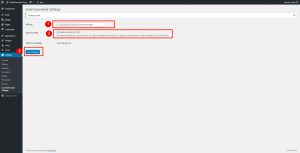
9. Paste the API key you copied from LeadSnap into the "API Key" field in the LeadSnap Settings page within the WordPress dashboard. Make sure the "Enable sending to CRM" checkbox is checked and click the Save button. After clicking the save button you should see the company you created within LeadSnap listed in the Send to Company field.

Test the Connection

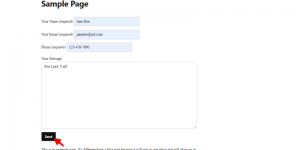
10. Send a test form submission to LeadSnap from your website.

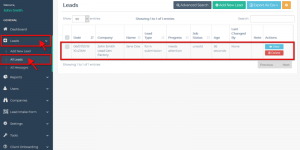
11.  Within LeadSnap expand "Leads" from the left navigation and click on "All Leads". You should see your test form submission on all leads screen. If you do not see your form submission check the connection settings as well as the spam filters within LeadSnap.

Next Steps

Now that you have successfully connected your WordPress Site. Here are a couple of next steps you should do to make sure things are set up correctly.

On This Page