This support guide explains the functionality and how to use the Review Sites component of the Funnel section in the Reputation Management module.
Step by Step Guide
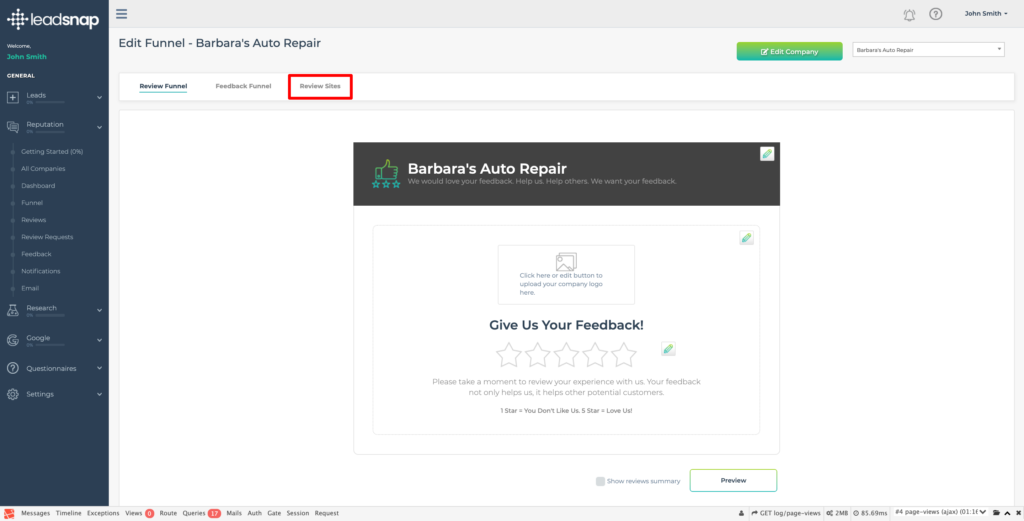
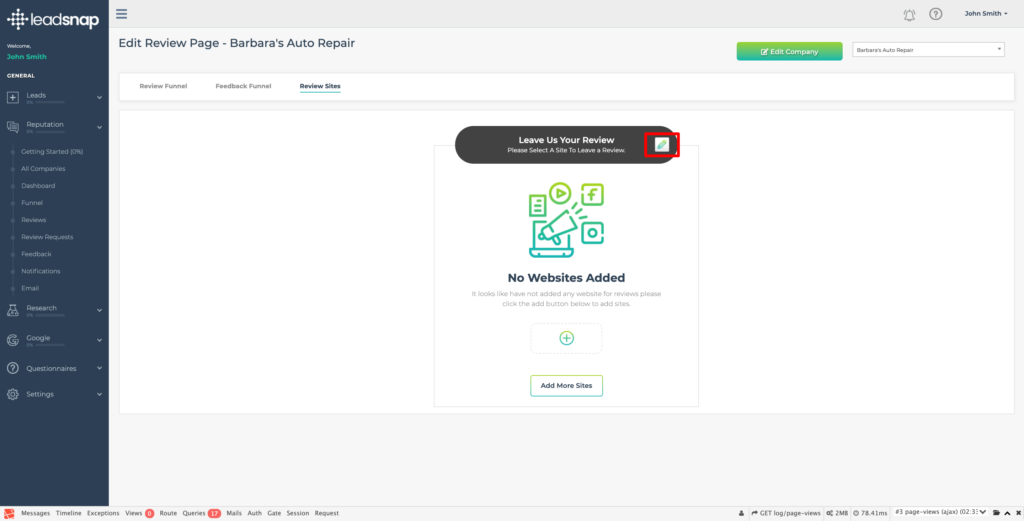
To access this section, click on the Reputation Module header in the left hand navigational menu. This will then expand the module and display all the sections available to you. The very first one is "Funnel", click on this and the default Review Funnel will be displayed. Click on the Review Sites option at the top left of the screen.
Overview
The final piece to the Funnel component is adding the Review Sites you wish to direct the Leads to. You MUST remember to set this up because failing to do so will leave your Leads with nowhere to leave a review and this could turn a positive experience into a negative one.
The review sites are most often your Facebook Page, GMB or a directory listing such as Yelp. These three sites are listed for you and the Icons will be displayed when you add your specific link.
You can also add Custom Links for other review sites you may be using, such as TripAdvisor for example.
Selecting the Company
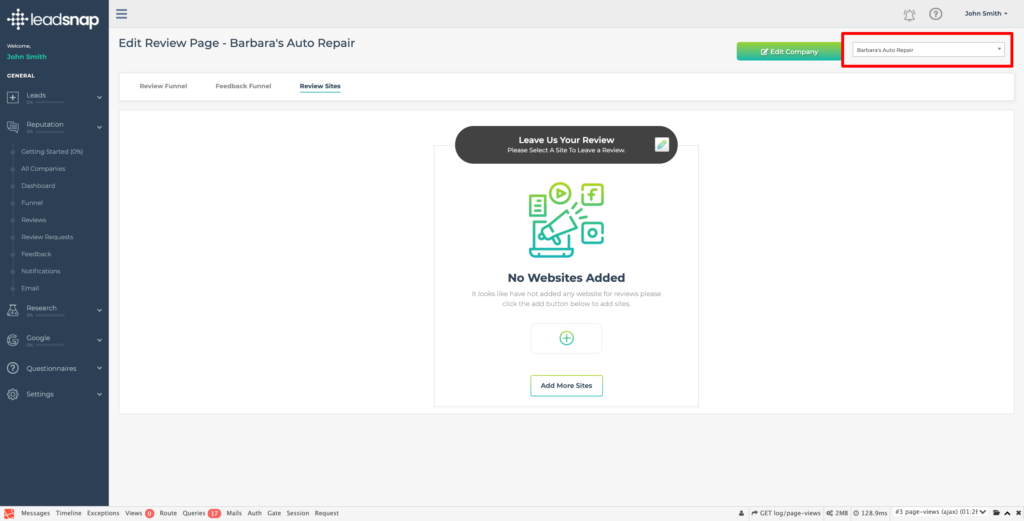
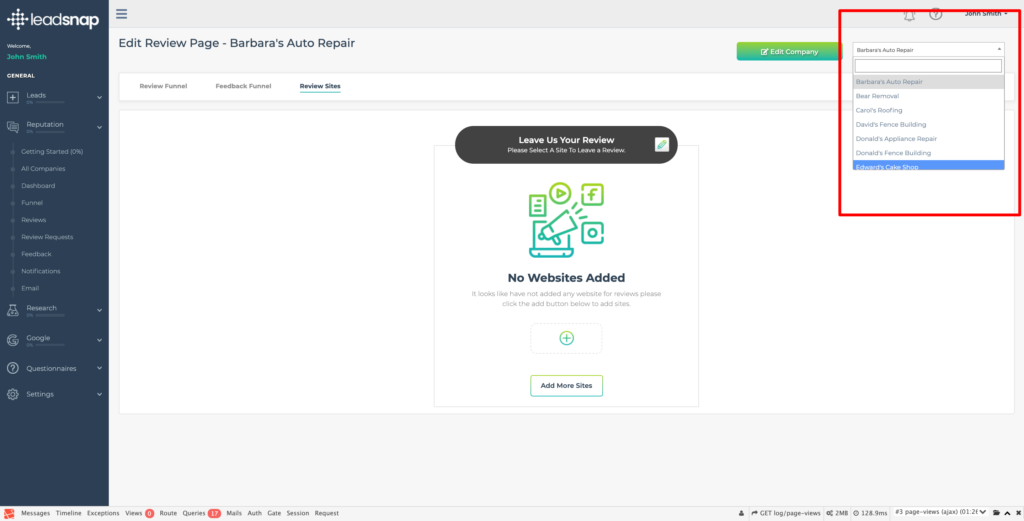
First you need to ensure you are working on the correct company's Review Sites. To change the company you need to go to the top right hand corner of the screen and click on the arrow in the dropdown menu, scroll down and click on the company you wish to configure.
You can change the company you are working on from all three of the component screens (Review Funnel; Feedback Funnel and Review Sites) in the Funnel section.
Editing the Company
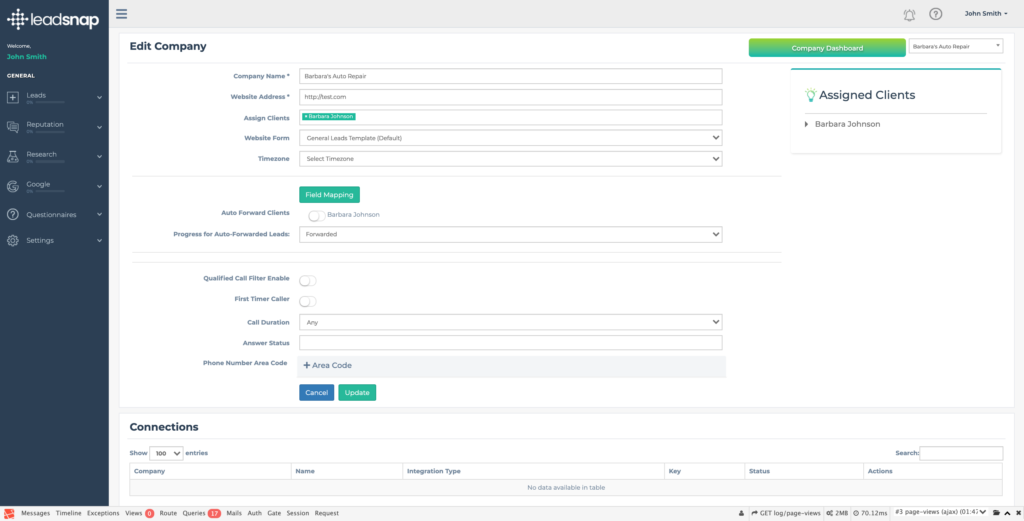
Once selected, you now also have the option of editing the company information from the Funnel. This can also be done from any of the component screens in this section.
Clicking the button will take you directly to the Edit Company screen that you can would normally have to navigate to via the "Settings-Companies-All Companies" navigational menu.
Once you have updated your company information, you will need to click on the Update button. A green banner at the top of the screen will indicate that the information has been updated successfully.
To return to the Funnel section, you will need to go through the navigational menu again by selection "Reputation - Funnel" and select the Review Sites from the menu at the top left of the screen.
Configuring the Header
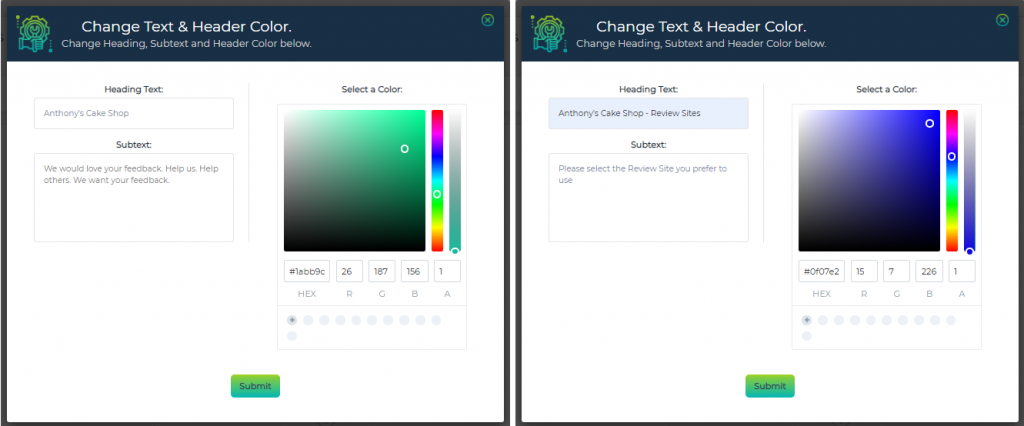
Your next step should be to setup the header to your Review Sites request form. At the top right of the header section you will see a pencil icon. By clicking this it will open a pop-up screen that will give you the option of editing the Heading Text; Subtext and the colour of the heading banner.
Once you have made the changes then you need to click the "Save Changes" button to apply them to the Review Sites template. If you decide you want to make further changes then simply click on the pencil icon again and make them, remembering to click the "Save Changes" button.
Adding Review Websites
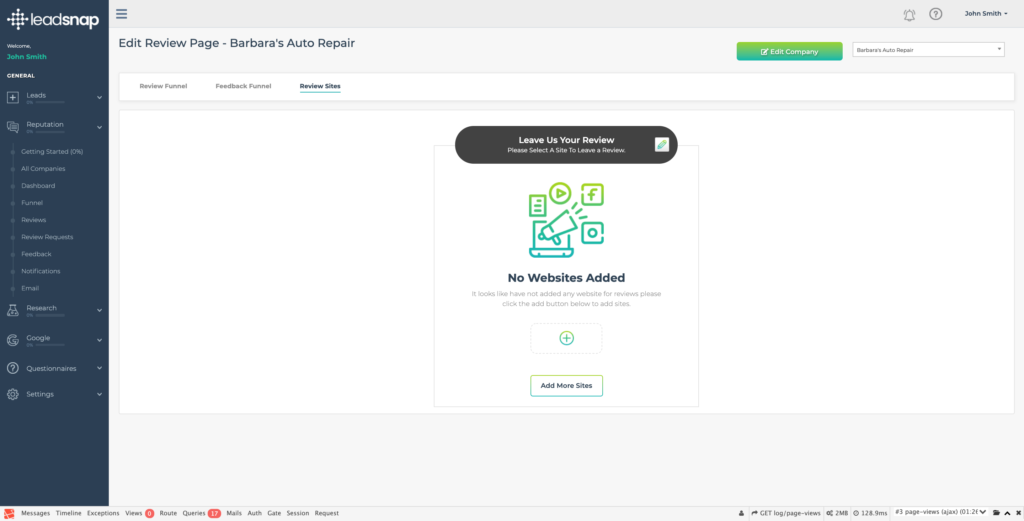
You will initially see a message stating "No Websites Added" and a dotted rectangle with a plus sign in a circle below it. To begin adding review websites, click on the Plus sign.
Facebook/Google and Yelp Review Sites
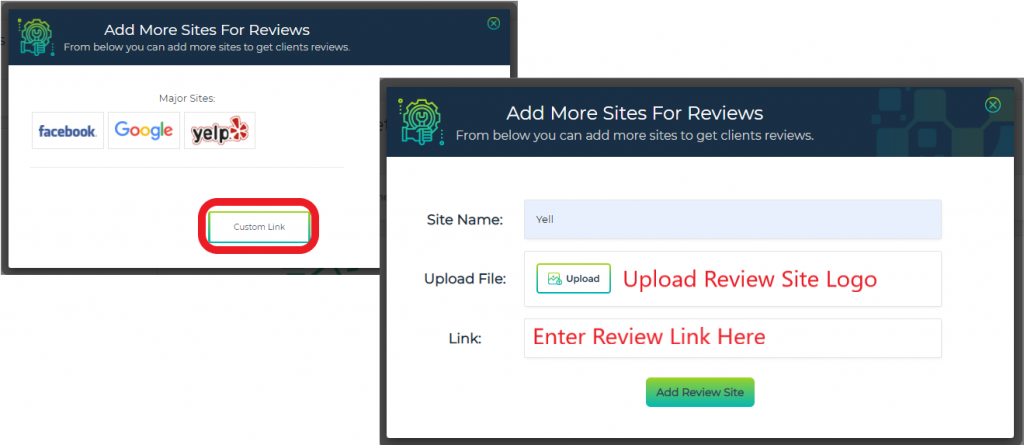
The above 3 sites are already configures in terms of image file and name. All you have to do is enter your Company's specific Review Link and it will added as a site option for the lead when adding a positive review.
Custom Review Sites
You can add any review site you are using for your company by using the "Custom Link" button on the Adding Review Sites dialog box. You will need to name the site appropriately, so leads can recognise the site clearly, and a logo file so that they can visualise it easily.

