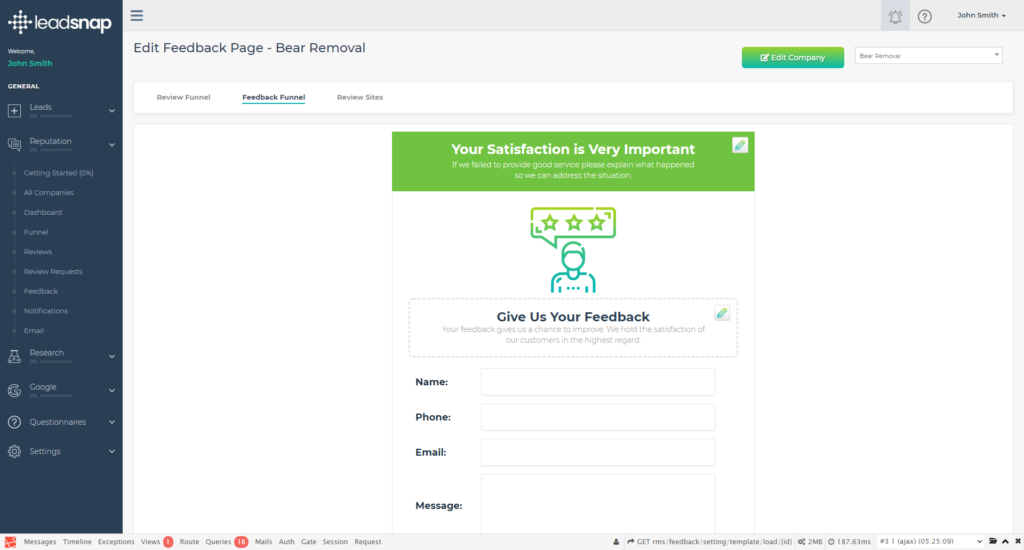
This support guide explains the functionality and how to use the Feedback Funnel component of the Funnel section in the Reputation Management module.
Step by Step Guide
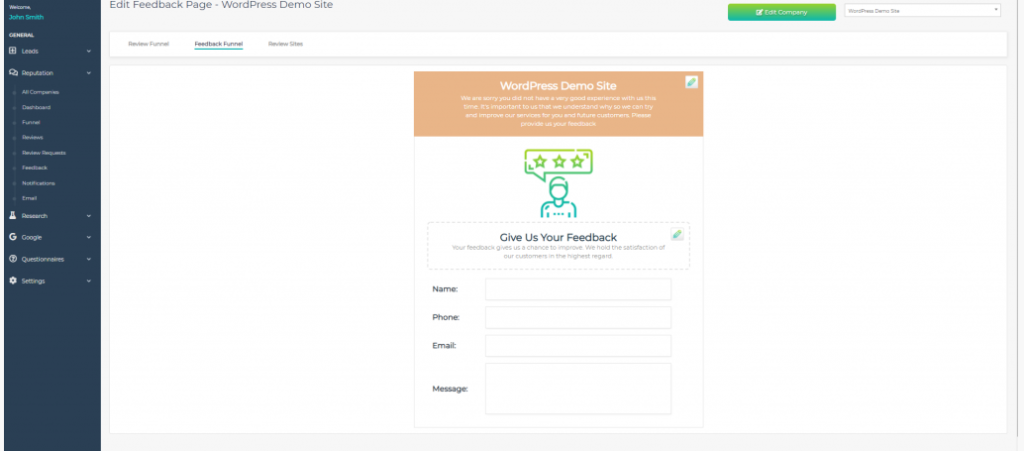
To access this section, click on the Reputation Module header in the left hand navigational menu. This will then expand the module and display all the sections available to you. The very first one is "Funnel", click on this and the default Review Funnel will be displayed. Click on the Feedback Funnel option at the top left of the screen.
Overview
The importance and impact of positives reviews is obvious. What is equally important though is the impact of a negative review. A negative reputation sticks in the mind of customers more than a positive one.
Let's put this into something tangible for you to consider:
- It is estimated that 90% of people are more likely to trust and buy from a brand recommended by a friend
- a satisfied customer will tell approximately 4 to 6 people
- a dissatisfied customer will tell approximately 9 to 15 people
And it is the last point that the Feedback Funnel aims to address. Instead of allowing the customer to leave a negative response to the Review Request, it will instead direct them to the Feedback Funnel. This enables you and the client to intervene, prevent the negative review going public and have a chance of rectifying the issues with a view to gaining a more positive review.
Selecting the Company
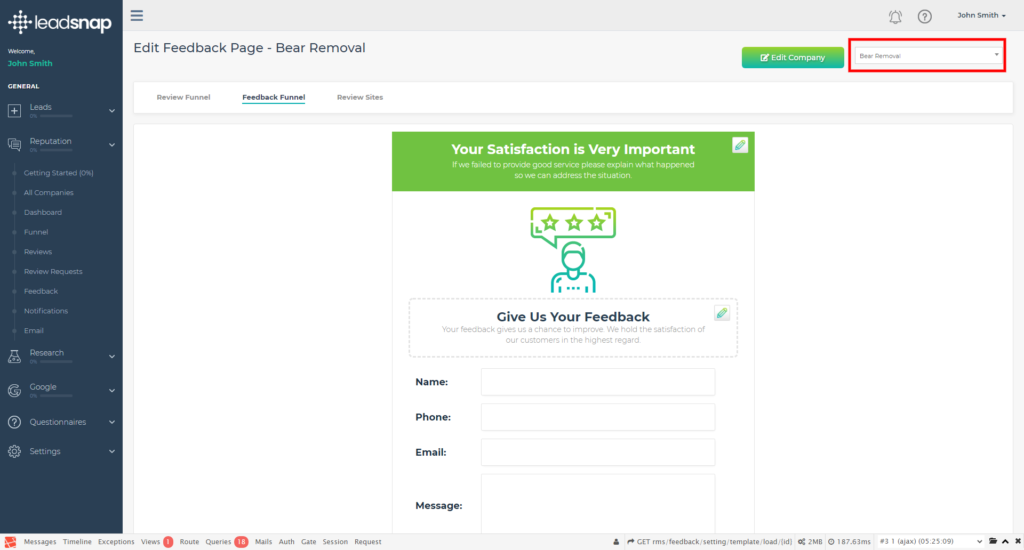
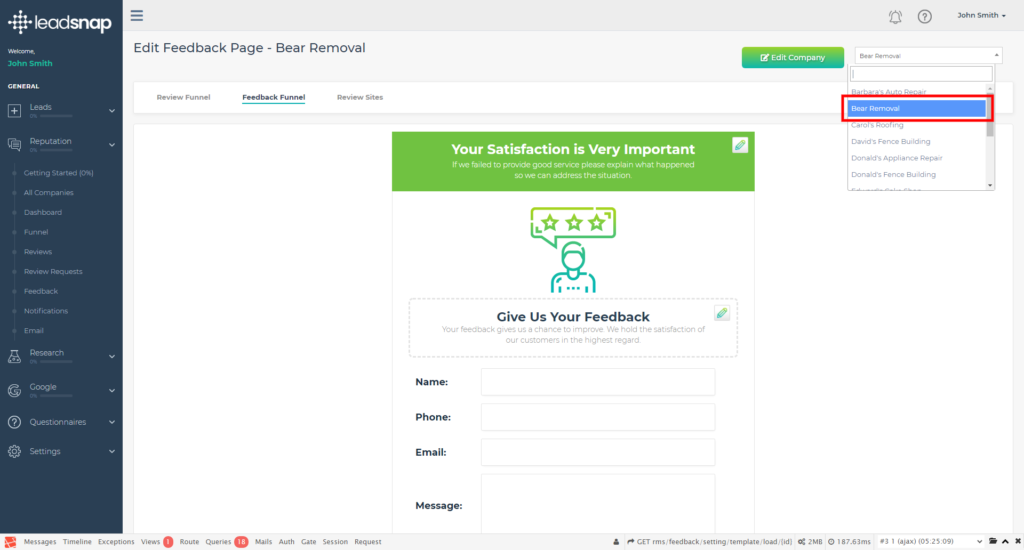
First you need to ensure you are working on the correct company's Feedback Funnel. To change the company you need to go to the top right hand corner of the screen and click on the arrow in the dropdown menu, scroll down and click on the company you wish to configure.
You can change the company you are working on from all three of the component screens (Review Funnel; Feedback Funnel and Review Sites) in the Funnel section.
Editing the Company
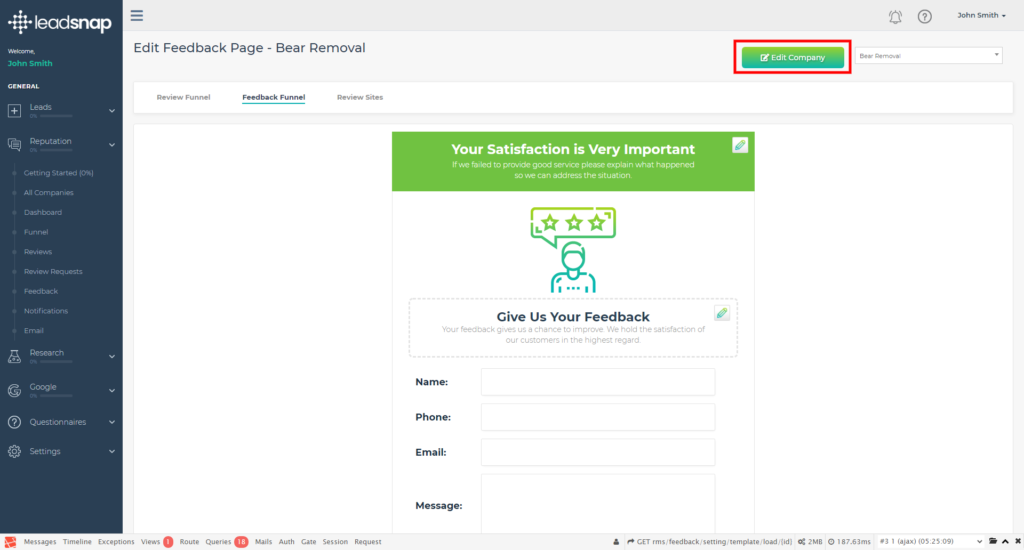
Once selected, you now also have the option of editing the company information from the Funnel. This can also be done from any of the component screens in this section.
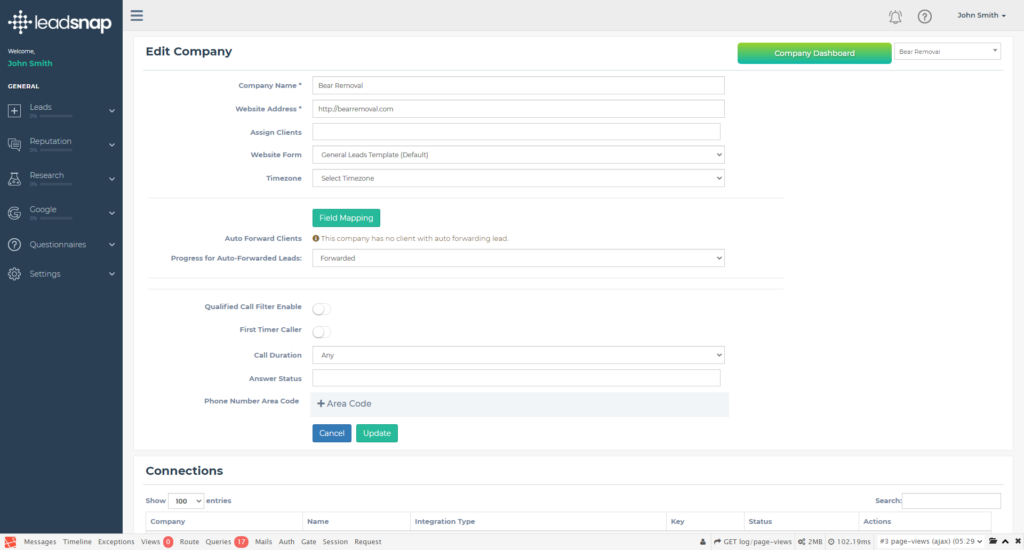
Clicking the button will take you directly to the Edit Company screen that you can would normally have to navigate to via the "Settings-Companies-All Companies" navigational menu.
Once you have updated your company information, you will need to click on the Update button. A green banner at the top of the screen will indicate that the information has been updated successfully.
To return to the Funnel section, you will need to go through the navigational menu again by selection "Reputation - Funnel" and select the Feedback Funnel from the menu at the top left of the screen.
Configuring the Header
Your next step should be to setup the header to your Feedback Funnel request form. At the top right of the header section you will see a pencil icon. By clicking this it will open a pop-up screen that will give you the option of editing the Heading Text; Subtext and the colour of the heading banner.
Once you have made the changes then you need to click the "Save Changes" button to apply them to the Feedback Funnel template. If you decide you want to make further changes then simply click on the pencil icon again and make them, remembering to click the "Save Changes" button.
Configuring Heading and Subtext
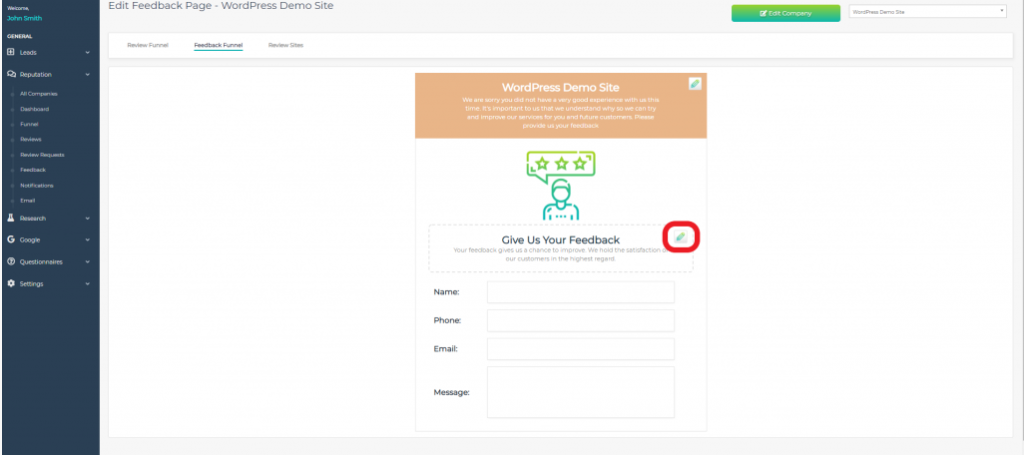
The next section you can edit is the call to action text on the page. At the top right of the central text field you will see a pencil icon. By clicking this it will open a pop-up screen that will give you the option of editing the Heading Text and Subtext.
Once you have updated these components you will need to click "Save Changes" to apply them and return to the Review Funnel template. If you decide you want to make further changes then simply click on the pencil icon again and make them, remembering to click the "Save Changes" button.
You have now completed the Feedback Funnel setup. If you are configuring this company's Funnel for the first time then you will need to complete the Funnel setup by following the "Review Sites" detailed support guide.


