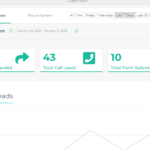
2. Click on "Edit Spam Filters".
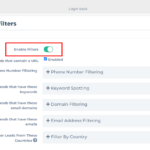
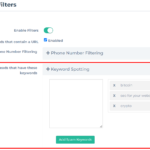
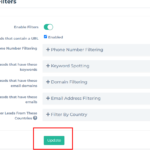
3. Check "Enable Filters"
Filters are enabled by default, but you can disable/enable the filters with the toggle button.
You can also filter leads by marking as spam the leads that contain a URL in the form submission’s message field.
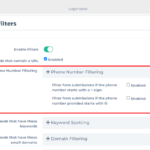
4. Phone Number Filtering
Many spammers include a “+†or a “0†at the start of the number. This violates the rules of valid phone numbers in many countries.
5. Keyword Spotting
The Keyword Spotting filter will mark a message as spam if it matches one of the defined spam keywords.
You can define certain keywords that the system will look for in upcoming messages.
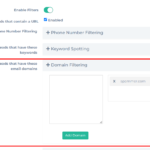
6. Domain Filtering
Domain Filtering checks the email field of a message. If the domain name (or part of the email after “@â€) matches one of your defined domains, the message will be marked as spam.
Note: Do NOT include “http, https†or “www.†in the domains, only the domain name and the domain extension (“.com, .net/, etc.â€). Valid examples are shown below:
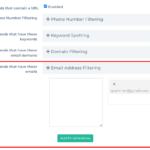
7. Email Address Filtering
Email Address Filtering checks for the email field of a message. If the email matches one of your defined email addresses, the message will be marked as spam.
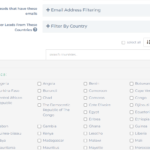
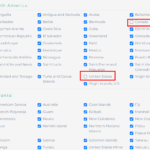
8. Filter By Country
The Filter By Country filter checks the IP address of incoming messages and only allows those that originate in unchecked boxes. This is very powerful for local lead generation, as most of the real leads will come from the same country where they would like the service.
Note: This filter currently only works with WordPress and Embed Forms.
9. Click on "Update"
Click on Update to save the filters.

